STEP 3: Planning your pages
The next step is planning where your text goes, and what illustrations you need. There are several ways to do this.
The easiest is to book a page plan order with me, and I'll create something similar to these samples:
The easiest is to book a page plan order with me, and I'll create something similar to these samples:
|

|
|
There are many benefits to having page plans, including:
- You'll know how many pages your book will be. (This is useful for costing purposes.)
- You'll be able to show the illustrator exactly what you want.
- The illustrator will be able to give you an accurate quote and time estimate, because they'll clearly see how many spot, full page and double-page illustrations you need.
|
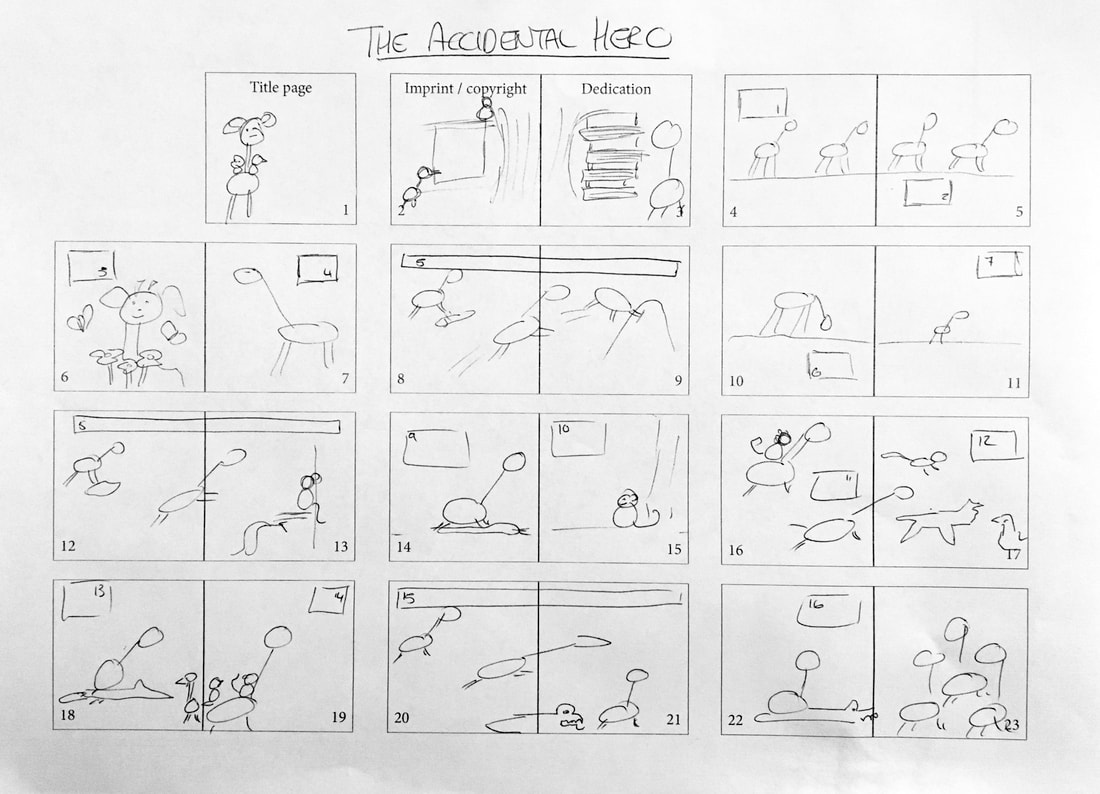
Creating the Rough Outline
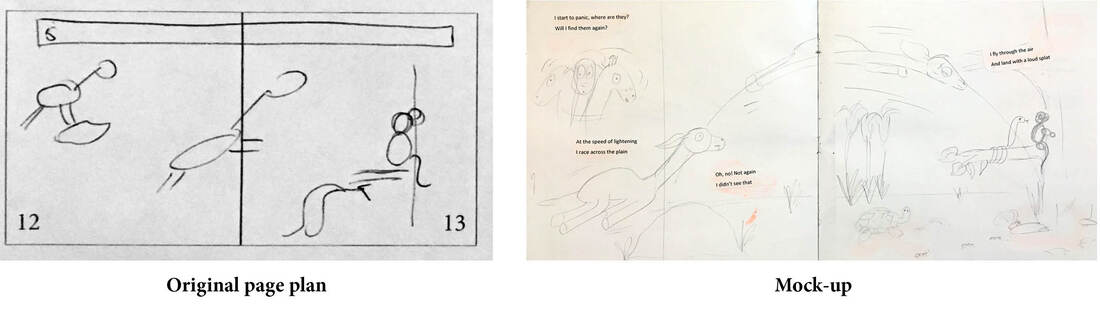
If my page plan offer doesn't suit your budget or your style, never fear - there are other options available. In this case, I would recommend starting with a rough outline (see The Accidental Hero overview to the right). You don’t have to be an artist to produce page plans. Any funny squiggles will do, as long as they make sense to you. A repetitive layout (see spreads 8-9, 12-13 and 20-21) is an excellent feature to include. |
|
With The Accidental Hero, I allocated 16 text boxes, each with roughly four lines. This makes it easy for me to finalise the text. If I have 17 stanzas, I’ll need to go back to the page plans and see where to include the last one. Or do I need to get rid of one?
Start creating your own page plans for your book by downloading a blank overview template here.
Start creating your own page plans for your book by downloading a blank overview template here.
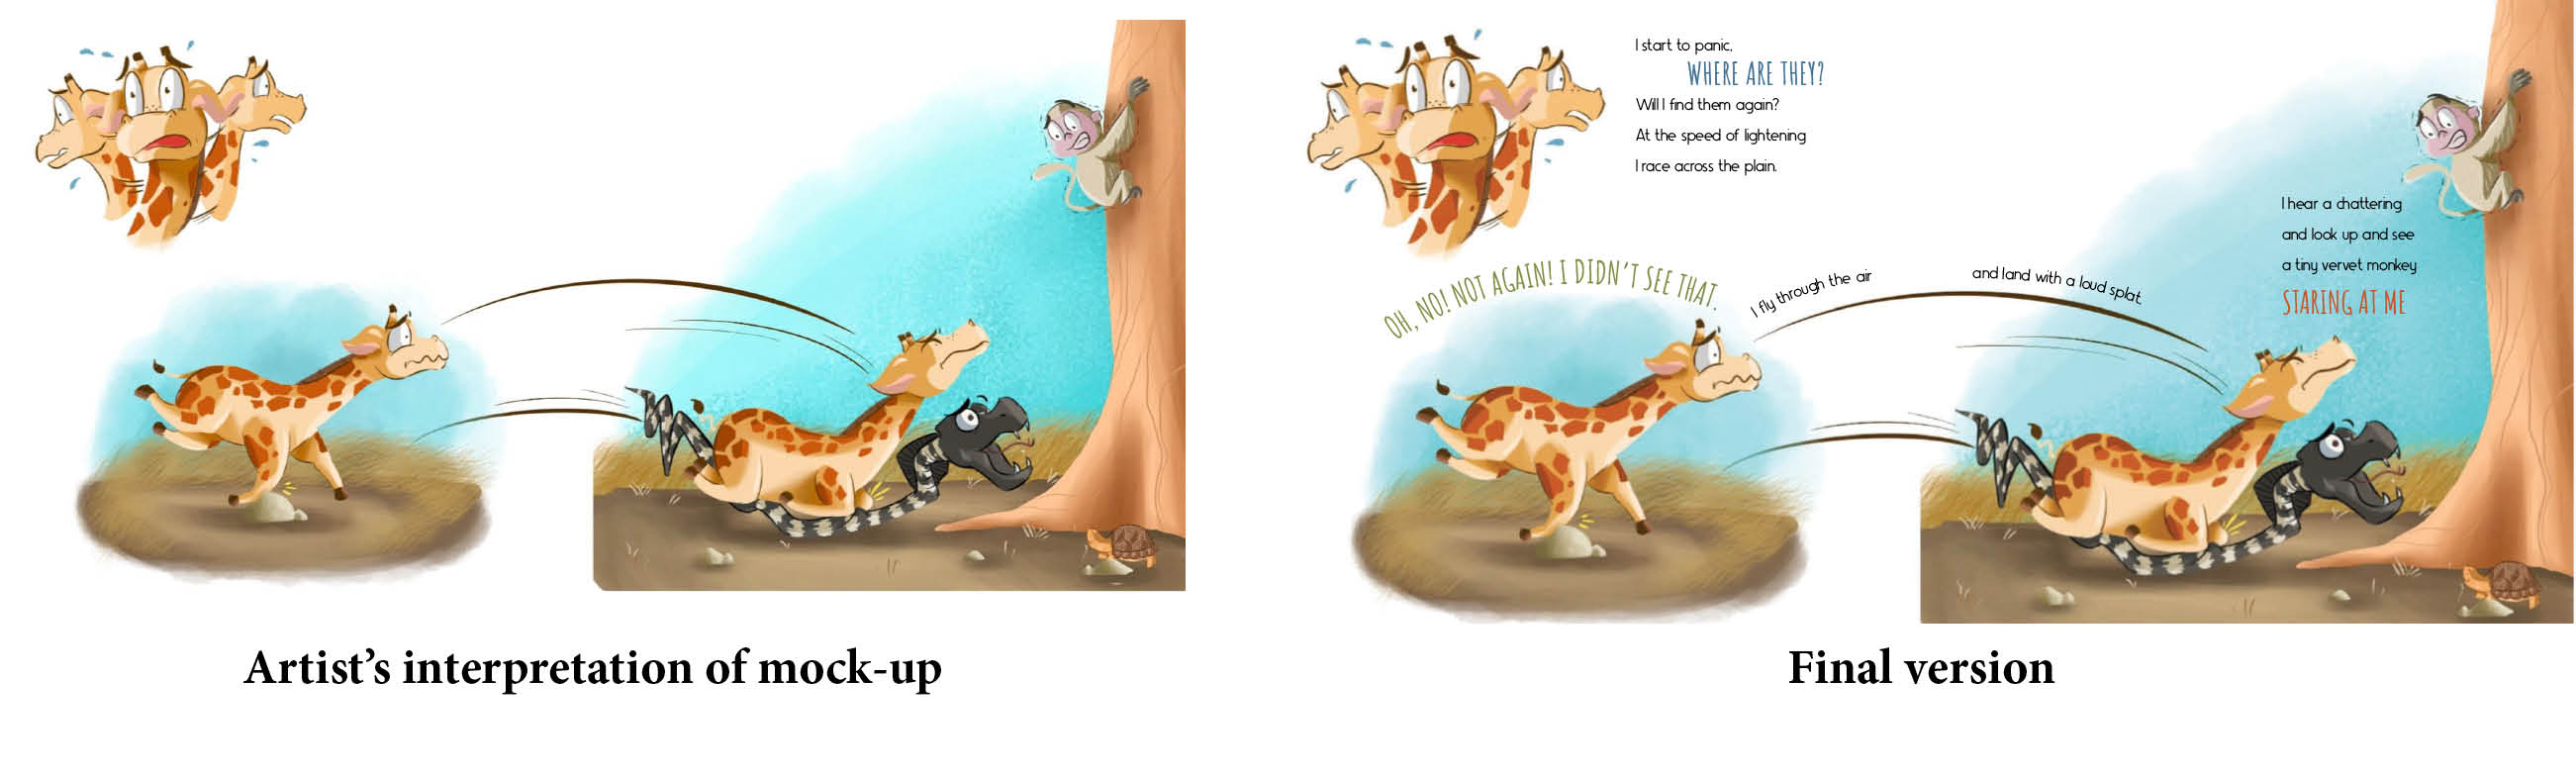
Creating the Mockup
It’s time to move on to the next exciting step in publishing your book – creating the mock-up.
This step isn’t strictly necessary, but I encourage it because it gives a clear sense of how much space will be taken up by text and, therefore, what restrictions the illustrator will have.
You don’t need to be an artist to create a decent mock-up, as you’ll see from my terrible drawings here. But your illustrator will find this invaluable, and it will really smooth out the entire process.
|
So, let’s start.
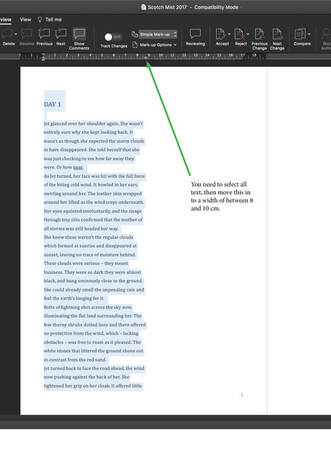
First, you’ll need to print your text. I usually make the font size 14-16 for children’s picture books. If your text is a rhyme and doesn’t go all the way across your page, then print as is. If it’s paragraphs, pull in your page margins to make the text a thinner strip. |
|
You should already have chosen your page size in step 1, so measure it out on a sheet of paper and cut out the shape. You’ll need one page for every two in your page count. (I.e. if your book is 24 pages, you’ll need 12 sheets of paper). Glue, staple, or stick them together with sellotape when you’re done to create a book.
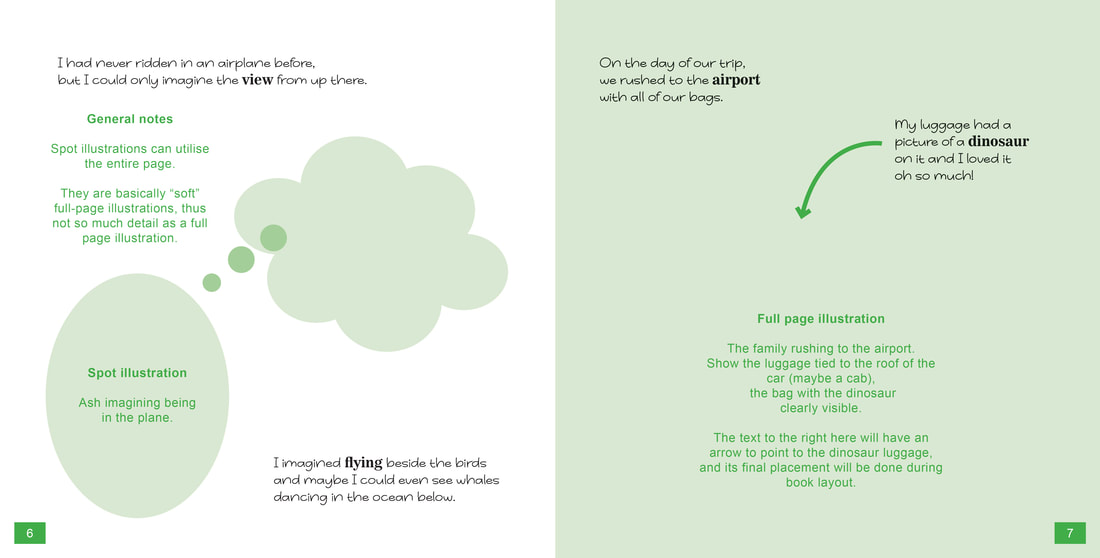
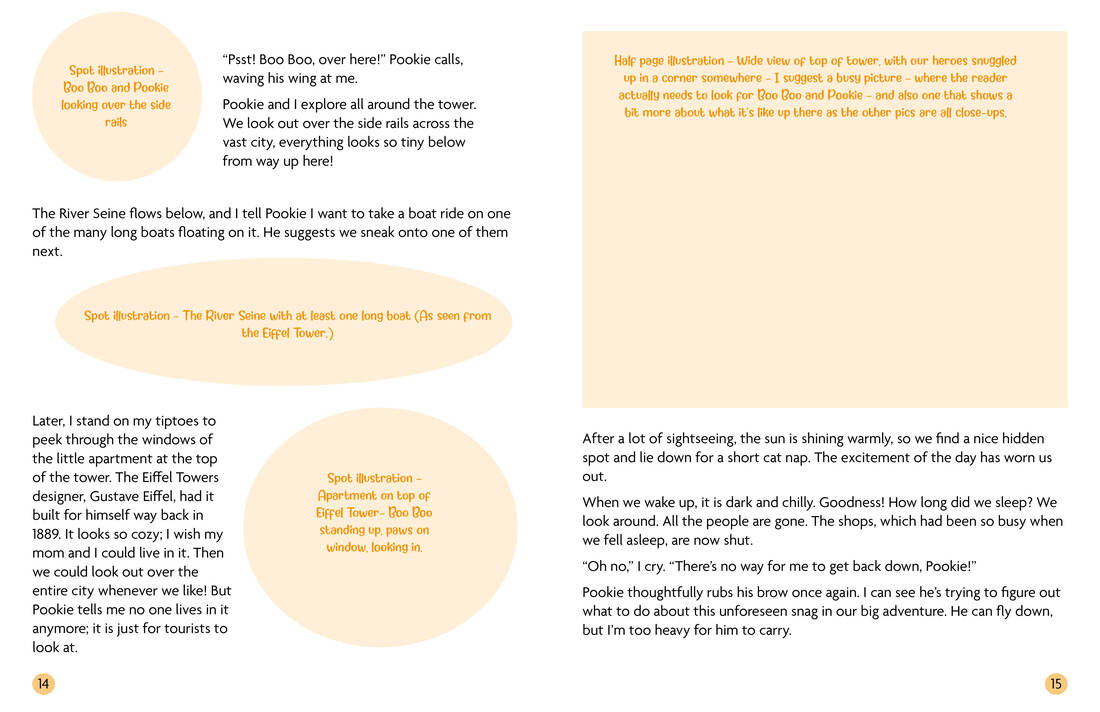
Now comes the fun part, using the overview you created above, start visualising each page, creating outlines for artwork and sticking your text in.
Have a look at this:
Now comes the fun part, using the overview you created above, start visualising each page, creating outlines for artwork and sticking your text in.
Have a look at this: