|
Now that the editing is done, it’s time to move onto the next exciting step in publishing your book – creating the mock-up. This step isn’t strictly necessary – but I like to encourage it because it gives a clear sense of how much space will be taken up by text and therefore what restrictions the illustrator will have. You don’t need to be an artist to create a decent mock-up, as you’ll see from my terrible drawings here. But your illustrator will find this invaluable, and it will really smooth out the entire process. Now, you should already have chosen your page size in step 1, so measure it out (roughly – nothing we do today needs to be exact) on a sheet of paper, and cut out the shape. You’ll need one page for every two in your page count. (I.e. if your book is 24 pages, you’ll need 12 sheets of paper). Glue, staple or stick them together with sellotape when you’re done to create a book.
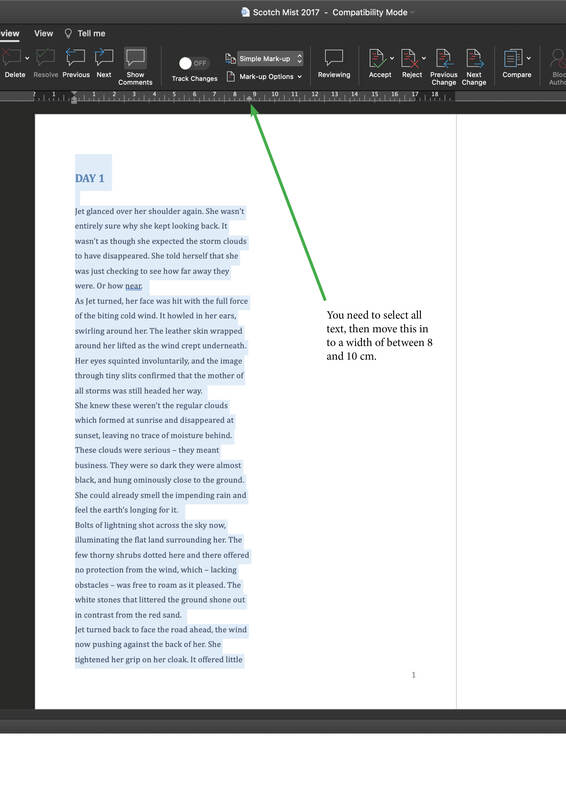
Now comes the fun part, using your page plans created in step 2, start visualising each page, creating outlines for artwork and sticking your text in. Have a look at this: |
bryonyI have been in the publishing industry for 20 years and have worked for several publishing houses and international organisations. Several of my children's books have won awards. ArchivesCategories
All
|


 RSS Feed